Bacon in the Oven: Timing, Trays, and Thickness
For one manufacturer’s regular bacon method, use a preheated 400°F (204°C) oven for 15–20 minutes. Follow your package first: thickness and product type change timing. Arrange slices in a single layer on a rack inside a rimmed pan and check before the upper limit.
| Setup | Starting guidance | Important limit |
|---|---|---|
| Regular bacon in the cited Hormel method | 400°F, 15–20 minutes | Product-specific example |
| Thick-cut bacon | Follow its package or recipe | Do not promise the same minutes |
| Fully cooked bacon | Use reheating directions | Different from raw bacon |
| Tray arrangement | Single layer, rimmed pan | Keep rendered fat contained |
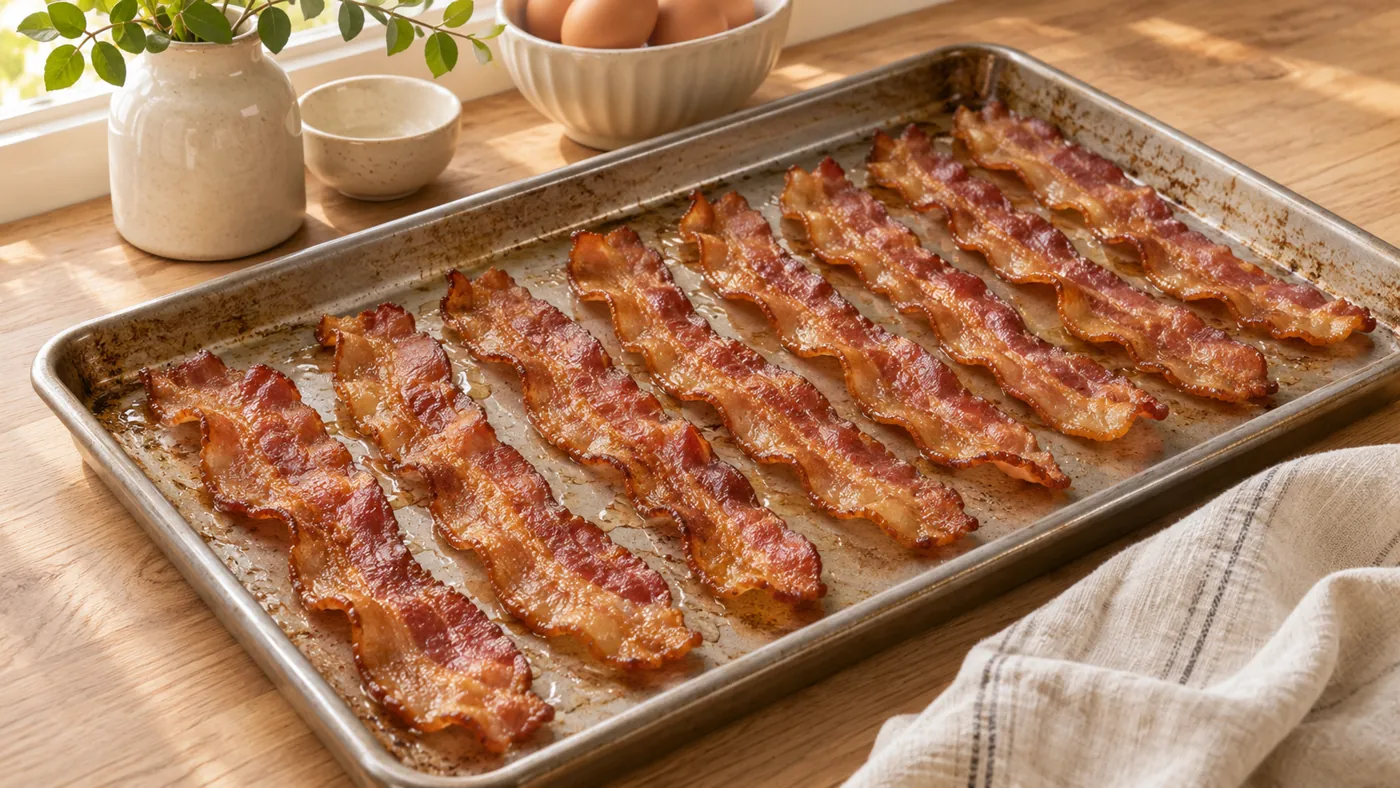
Match the method to the bacon
My starting point is the package: regular, thick-cut, and fully cooked bacon need different treatment. The cited 400°F method includes a rack in a pan, so its timing is not a promise for bacon laid directly on a tray. Choose a pan that safely contains the rendered fat; a tidy-looking setup is secondary to that practical requirement.
Read the package before preheating
Raw regular bacon, thick-cut bacon, turkey bacon, and fully cooked bacon are different products. A shared name does not make their oven instructions identical. Start with the actual package, especially if it includes a tray or specialized preparation directions.
The range above comes from a specific manufacturer's regular bacon instructions. It provides a concrete starting example, not a claim that every bacon product is finished at twenty minutes. Keep the product and method together when comparing advice.
Choose a pan that can contain the fat
Use a rimmed baking pan in good condition. Bacon releases fat as it cooks, so an unrimmed cookie sheet is not an equivalent choice. Make sure the pan fits securely in the oven and can be lifted level when hot.
If you line it, use a material rated for the oven temperature and keep it contained within the pan. A liner simplifies cleanup but does not replace the rim. Do not let paper or loose material touch a heating element.
Arrange slices in one layer
The cited manufacturer method places slices on a rack inside a shallow rimmed pan. Arrange them in one layer rather than stacking pieces. A direct-on-pan method is a different setup and can change the timing. Overlapping bacon can cook unevenly, making the edges appear ready while covered sections lag behind. Use another tray or another batch if necessary.
Multiple trays can change airflow and timing. Check them individually, and follow the recipe's instructions for rack placement or rotation. Do not assume two crowded trays cook exactly like one evenly spaced tray.
Watch near the end of the range
Bacon can move from the texture you want to overly dark edges quickly. Begin checking before the upper end of the stated range, especially with thin slices or an unfamiliar oven. Use the package's doneness directions rather than color alone as a universal safety rule.
Remove the pan carefully and transfer cooked slices with tongs to a suitable draining surface. The hot fat remains a burn hazard after the bacon is removed. Avoid balancing the pan at an angle or carrying it across a cluttered counter.
Why bacon wrapped around chicken is a separate cooking problem
A strip of bacon on a rack is exposed differently from bacon wrapped around a thick piece of chicken. Even if the bacon surface looks ready, the chicken center needs its own temperature check. I would follow a complete recipe for the wrapped dish, not apply the plain-bacon time to the combined food.
The same distinction matters with fully cooked bacon: its package describes reheating, not the raw product in this example. Before setting a timer, identify whether you are cooking raw slices, warming cooked slices, or cooking a wrapped filling. These are three tasks with different evidence for completion. For chicken, the 165°F guide explains where to measure.
Let cleanup and storage follow a plan
Keep the pan on a stable, heat-safe surface while the fat cools. Do not pour hot grease into a sink drain. Transfer or dispose of cooled fat in a way appropriate to your kitchen and local waste arrangements.
Refrigerate cooked leftovers promptly and retain the original cooking date. If you want bacon for sandwiches over several days, portion it before storage so you can reheat only what you need. Repeated warming of the entire batch adds unnecessary handling.
FAQ
Is 400°F always the best oven setting?
It is the setting in the cited manufacturer example, not a universal requirement. Follow the directions for your bacon product or a complete recipe. Thickness, added sugars, and specialized oven-ready packaging can call for a different approach.
Does thick-cut bacon take exactly twenty minutes?
Do not promise that. Thick-cut products differ, and their packages may specify different times. Use the product’s method, arrange slices evenly, and check progress. A single regular-bacon range cannot establish the endpoint for every thicker slice.
Do I need a rimmed pan?
Yes, use a pan that contains rendered fat. An unrimmed sheet does not offer the same protection against spills. Keep the pan level during removal and have a clear heat-safe landing area ready before opening the oven.
Can I use the same method for fully cooked bacon?
Use the reheating instructions on the fully cooked product. It is not starting from the same state as raw bacon, so the raw-bacon oven range may overcook it. Identify the product before choosing the temperature and minutes.
Is bacon-wrapped chicken done when the bacon looks cooked?
No. The chicken needs its own internal-temperature check, including the thickest part. A browned exterior does not establish the temperature inside a wrapped food. Follow a complete recipe and use the appropriate target for the filling.