How Long to Boil Chicken Breast Safely
USDA’s chart lists about 25–30 minutes of simmering for a 4-ounce boneless breast half and 35–45 minutes for a 6–8-ounce bone-in half. Keep thawed pieces submerged, count from a steady simmer, and check the thickest center for 165°F (74°C); begin checking earlier for thin pieces.
| Chicken breast half | Approximate simmering time | Safety check |
|---|---|---|
| Boneless, 4 oz (113 g) | 25–30 minutes | 165°F (74°C) at center |
| Bone-in, 6–8 oz (170–227 g) | 35–45 minutes | 165°F away from bone |
| Large or uneven pieces | Do not extrapolate exactly | Measure each thick center |
Simmering is the useful method
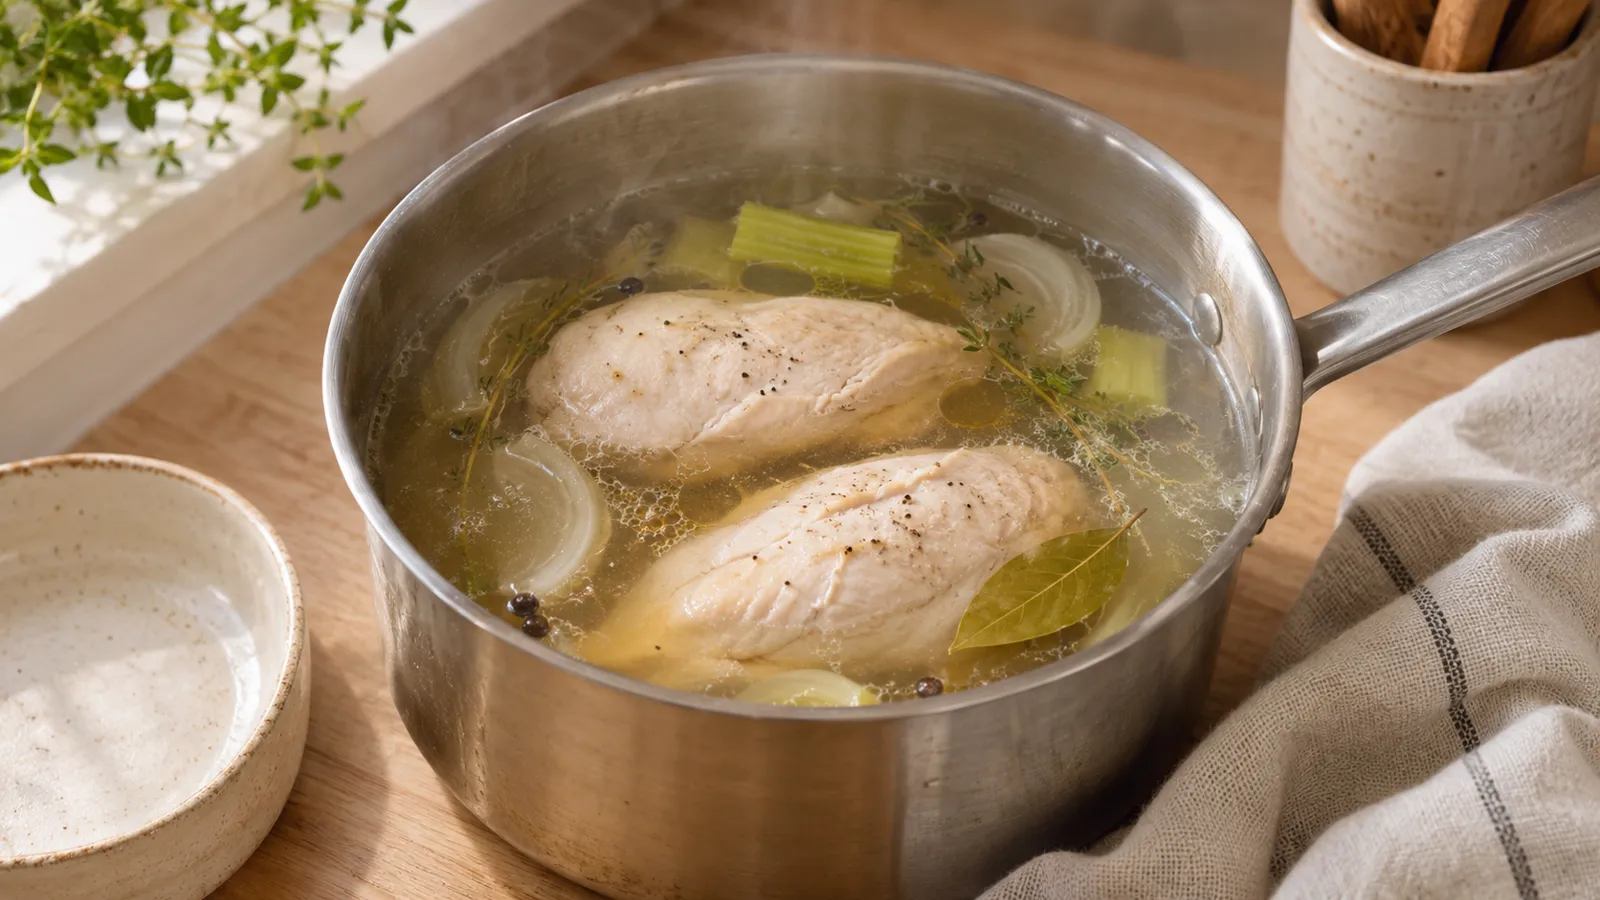
People search for boiled chicken, and I'd gently steer them toward simmered chicken instead. An aggressive rolling boil isn't the goal; a controlled simmer lets you manage the cooking without repeatedly battering the outside of the meat. That gentler approach matters most for chicken headed into sandwiches or a salad, where a dry, stringy result has nowhere to hide.
The estimates above are from USDA cooking estimates reproduced by the American Meat Science Association. Look at how small the reference sizes are. A large modern supermarket breast may be much heavier than four ounces, so I'd leave those minutes attached to the portions they describe and avoid pinning the same finish time on every package.
Start the clock at a steady simmer
For the timing reference here, keep fully thawed breast portions covered by the cooking liquid and begin the simmering time once the liquid has returned to a gentle simmer after the chicken is added. Use a pan that holds the pieces in a manageable layer. Small bubbles and gentle movement are all you need, so turn the burner down as soon as the pot starts showing off; a violent rolling boil is unnecessary.
The published chart doesn't specify every starting condition, which is why I read its times as planning ranges. Have the thermometer ready before the lower end, so a thin piece never has to sit through the full interval in the pot. Measure an early sample if your pieces are thinner than the reference portions, and remove only those that reach 165°F. Keep the remaining pieces submerged while they finish.
Thickness changes the answer
Weight helps describe a portion, but thickness controls how far heat must travel, and a single breast can have a thin tail and a thick rounded end. Arrange pieces without stacking them tightly, and check that the thicker sections are actually surrounded by the cooking liquid.
If even pieces are the goal, prepare them consistently before cooking, because the smallest sample of a differently cut batch can't speak for the rest. A batch intended for shredding still deserves an individual doneness check. Shredding later does nothing to correct a cold center now, and I'd hate to see it treated as a second chance.
Check away from the hot liquid
Lift a breast onto a clean surface or support it securely while measuring, then put the thermometer's sensing area into the thickest central meat. This step is worth slowing down for: a probe sitting in the cooking liquid measures the liquid, which can be much hotter than the middle of the chicken. That reading would be reassuring and useless.
Use a sideways insertion for a thin piece if that helps keep the sensing area inside the meat, and avoid bone in bone-in portions. The chicken temperature guide explains the 165°F endpoint and why whiteness or clear juices cannot replace it.
Plan for the dish after cooking
Once a piece has reached the target, remove it and let the largest breast finish on its own. Leaving every breast in the pot until the biggest one is ready punishes the small ones for being efficient. I'd set up the clean receiving plate before cooking, so checking and removing pieces doesn't turn into a scramble.
If the chicken is for a cold dish, move promptly into appropriate chilled storage; don't leave a large pot to sit out. See cooked chicken storage for the separate holding and reheating rules. This timing guide concerns fully thawed, plain breast portions. Stuffed products and frozen blocks need their own instructions, and I wouldn't try to stretch these numbers to cover them.
FAQ
Can chicken breast be ready sooner than the chart?
Yes, a small or thin piece may reach the endpoint sooner. The chart is an approximate planning aid, not a reason to keep already-cooked chicken in the pot. Check with a thermometer, and remove pieces individually once their thickest centers reach the required temperature.
Does boiling harder cook the center better?
Vigorous bubbling does not give you reliable information about the meat’s center. It can also make the cooking more difficult to control. Maintain an appropriate simmer and check the chicken itself. Turning up the heat is not a replacement for placing a thermometer in the thickest part.
Can I check by cutting the breast open?
A cut can reveal texture, but color is not a dependable food-safety test. The center can look pale without establishing the required temperature, and safely cooked poultry can sometimes retain pink tones. Use a thermometer rather than repeatedly cutting the meat and guessing from its appearance.
Can I use these times for frozen chicken?
These estimates describe thawed portions, not a frozen block or a stuffed frozen product. Follow a method intended for the product you have, with the same required final temperature. If several breasts are frozen together, their uneven heating makes a simple added-minute rule especially unreliable.
Should I wash raw chicken first?
No. Washing raw poultry can spread contaminated droplets around the sink and nearby preparation area. Handle it with clean utensils, keep raw juices away from ready-to-eat food, and cook it properly. Cleaning the thermometer and receiving plate matters more than rinsing the raw breast.